1. Candy III. 2. Amethyst III. 3. Matte Light I. 4. Metro III. 5. La Femme II.
Technique.
These work nicely in one click but here’s a few tips to get the best out of them.
As with all presets, it’s best to set your exposure and white balance/tint first. I like to roll over the presets, watching the preview window to narrow down which look best fits the scene and mood. I then experiment with the clarity slider (be careful to not go too far with this) before moving down to the tone curve. Typically I will raise the shadows first and then adjust the highlight/light tones a little to help replicate a film contrast.
Finally you may wish to turn on the checkbox for lens profile correction to correct any distortion or lens vignetting. Some of the presets contain lens vignetting built in. If you wish to adjust that, it can be found in the tools section or lens corrections section under the manual pane.
When shooting, there’s a few techniques to keep in mind to make your life easier in post production.
Always shoot your camera in full manual mode. This is a major time saver, as it helps ensure consistency in exposure when copying and pasting presets in post.
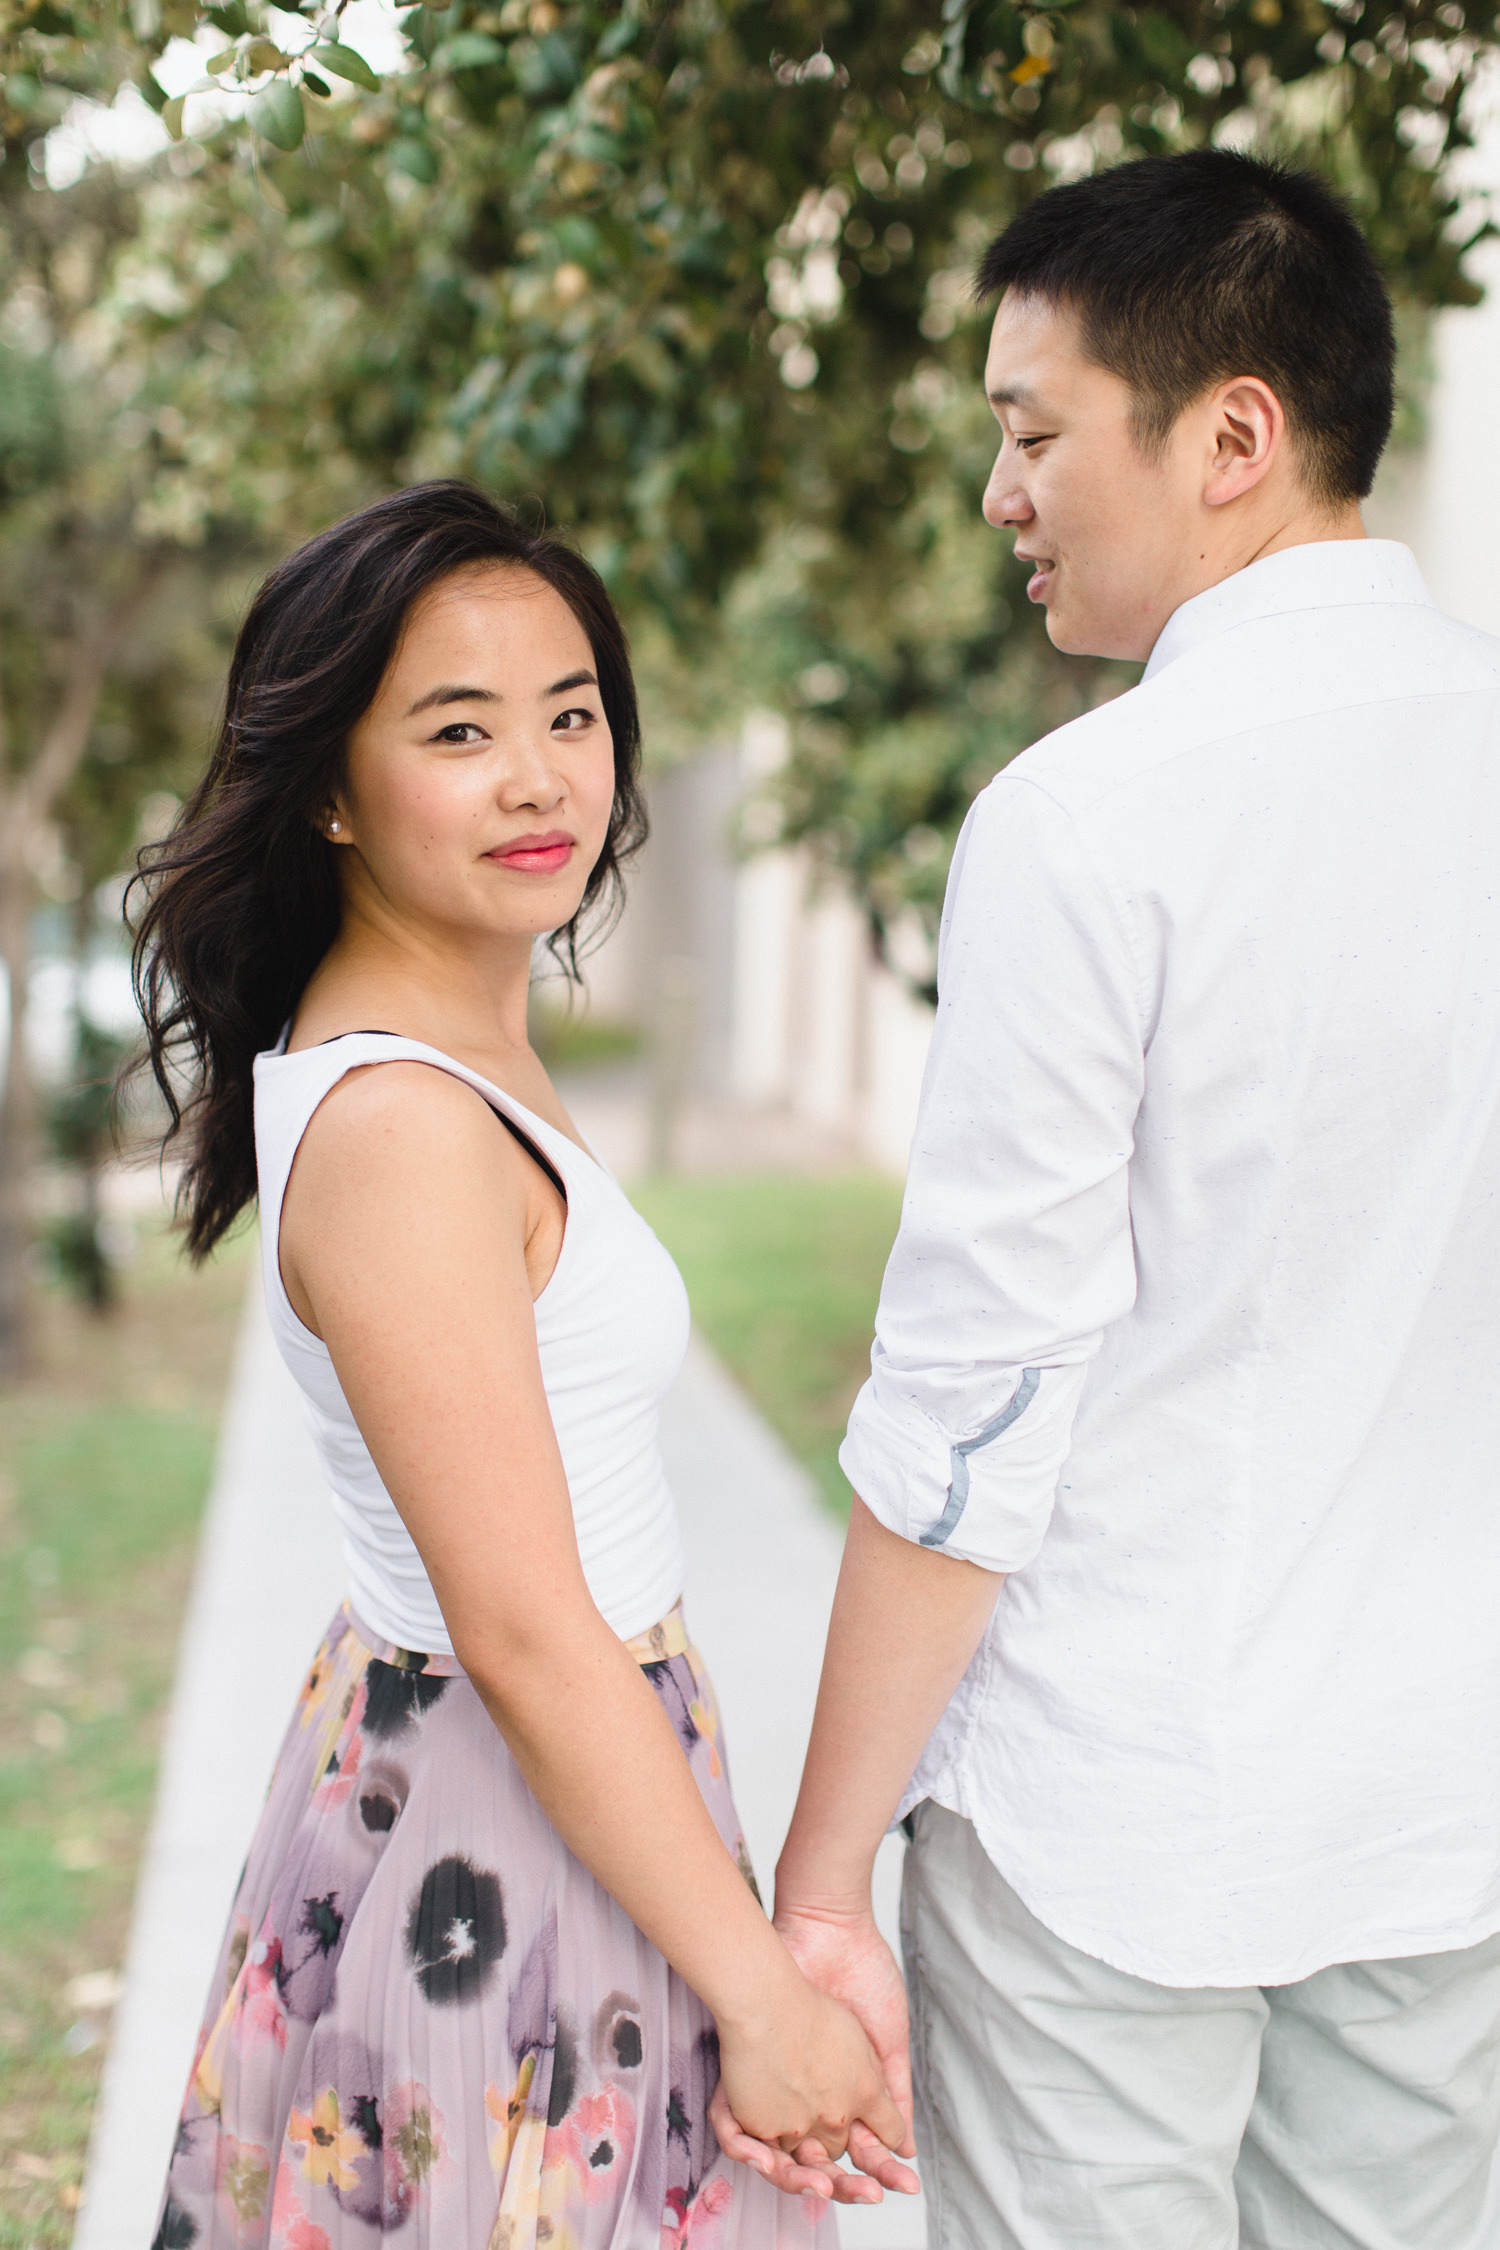
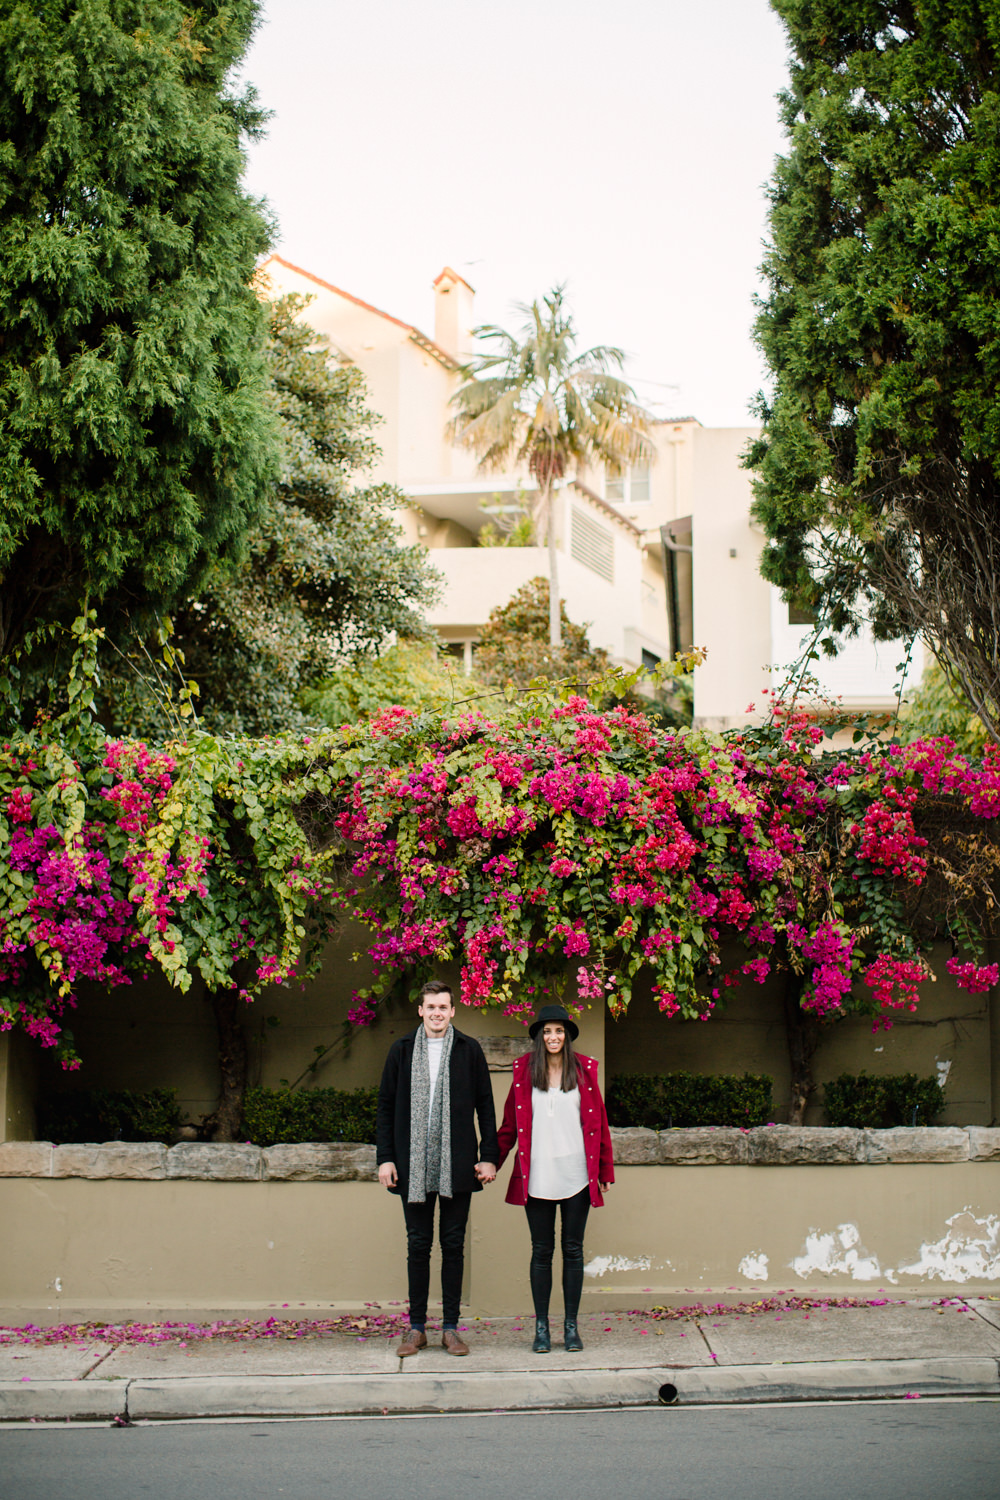
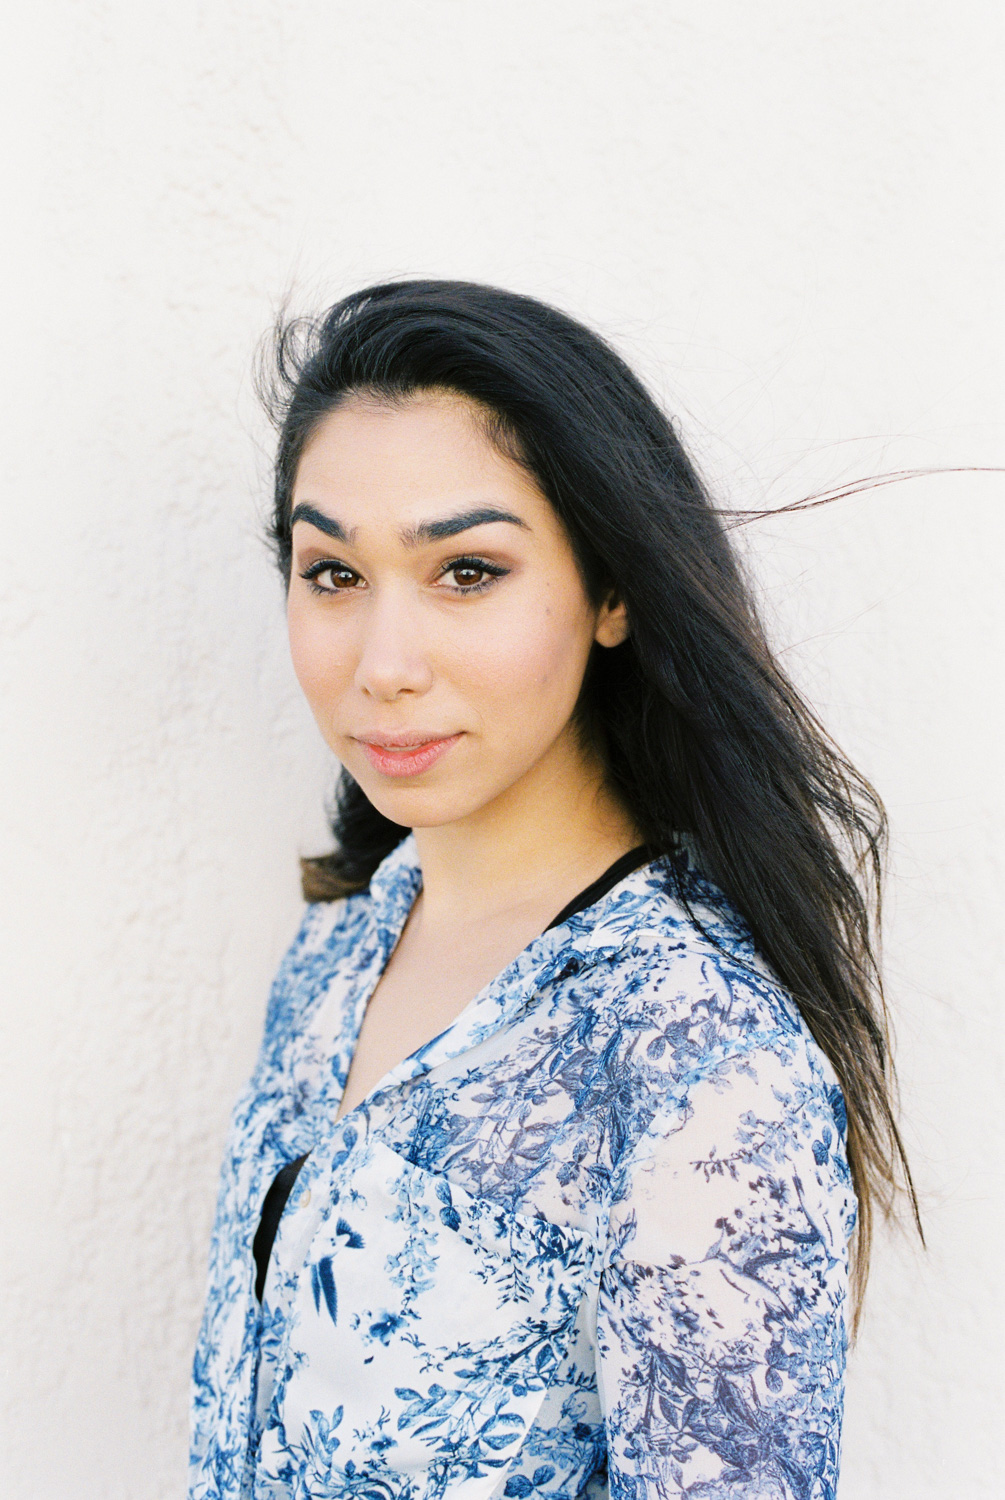
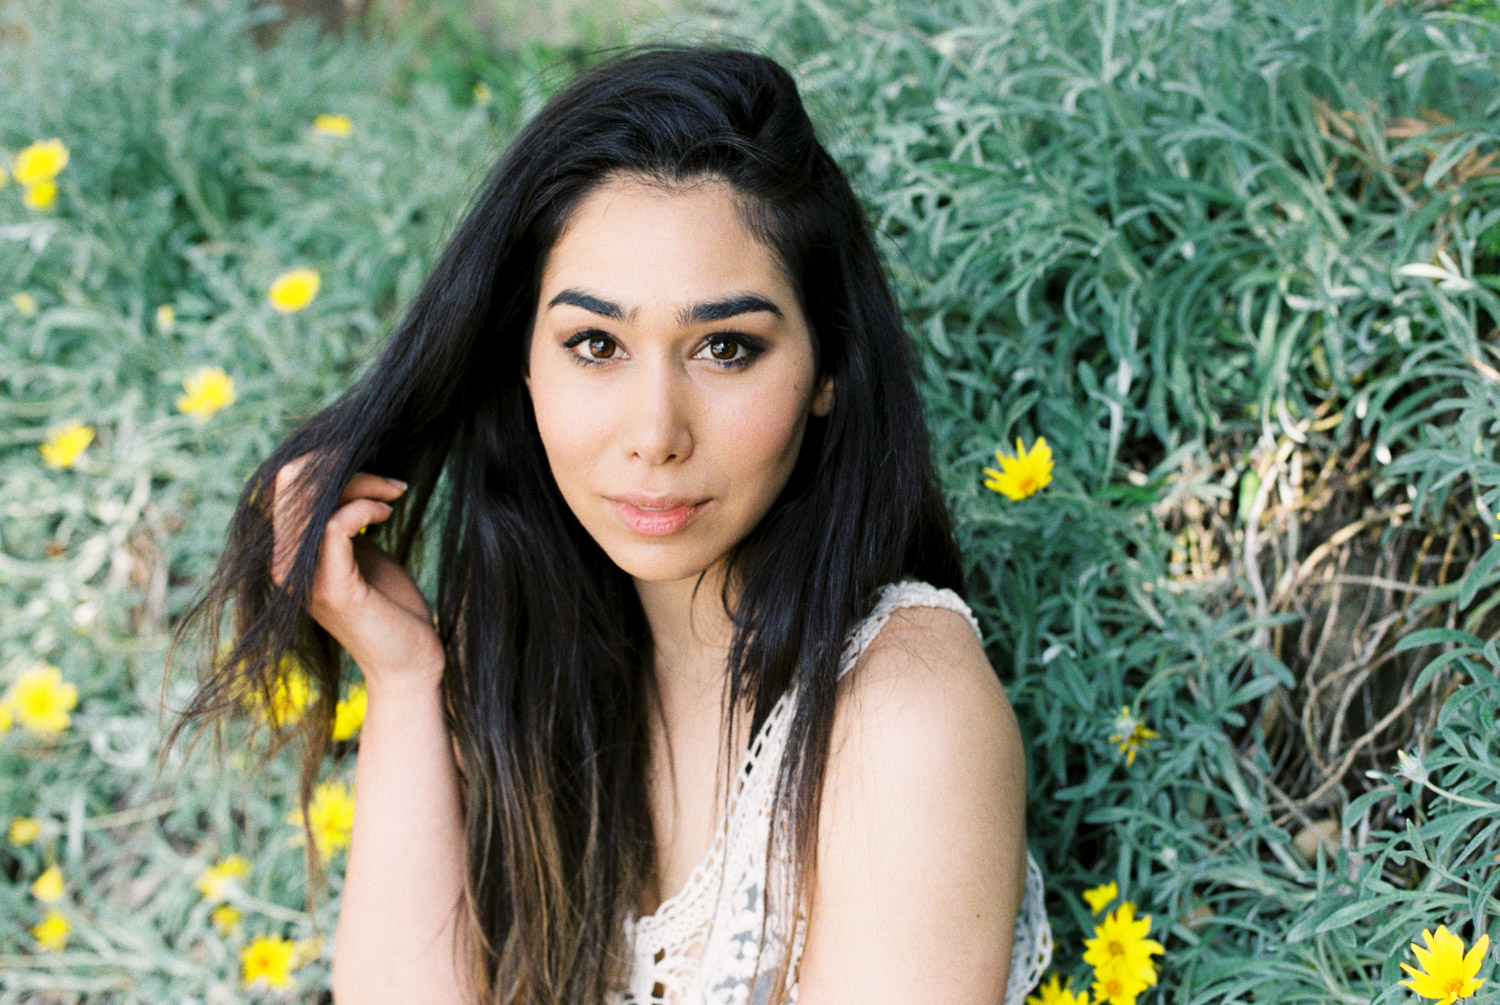
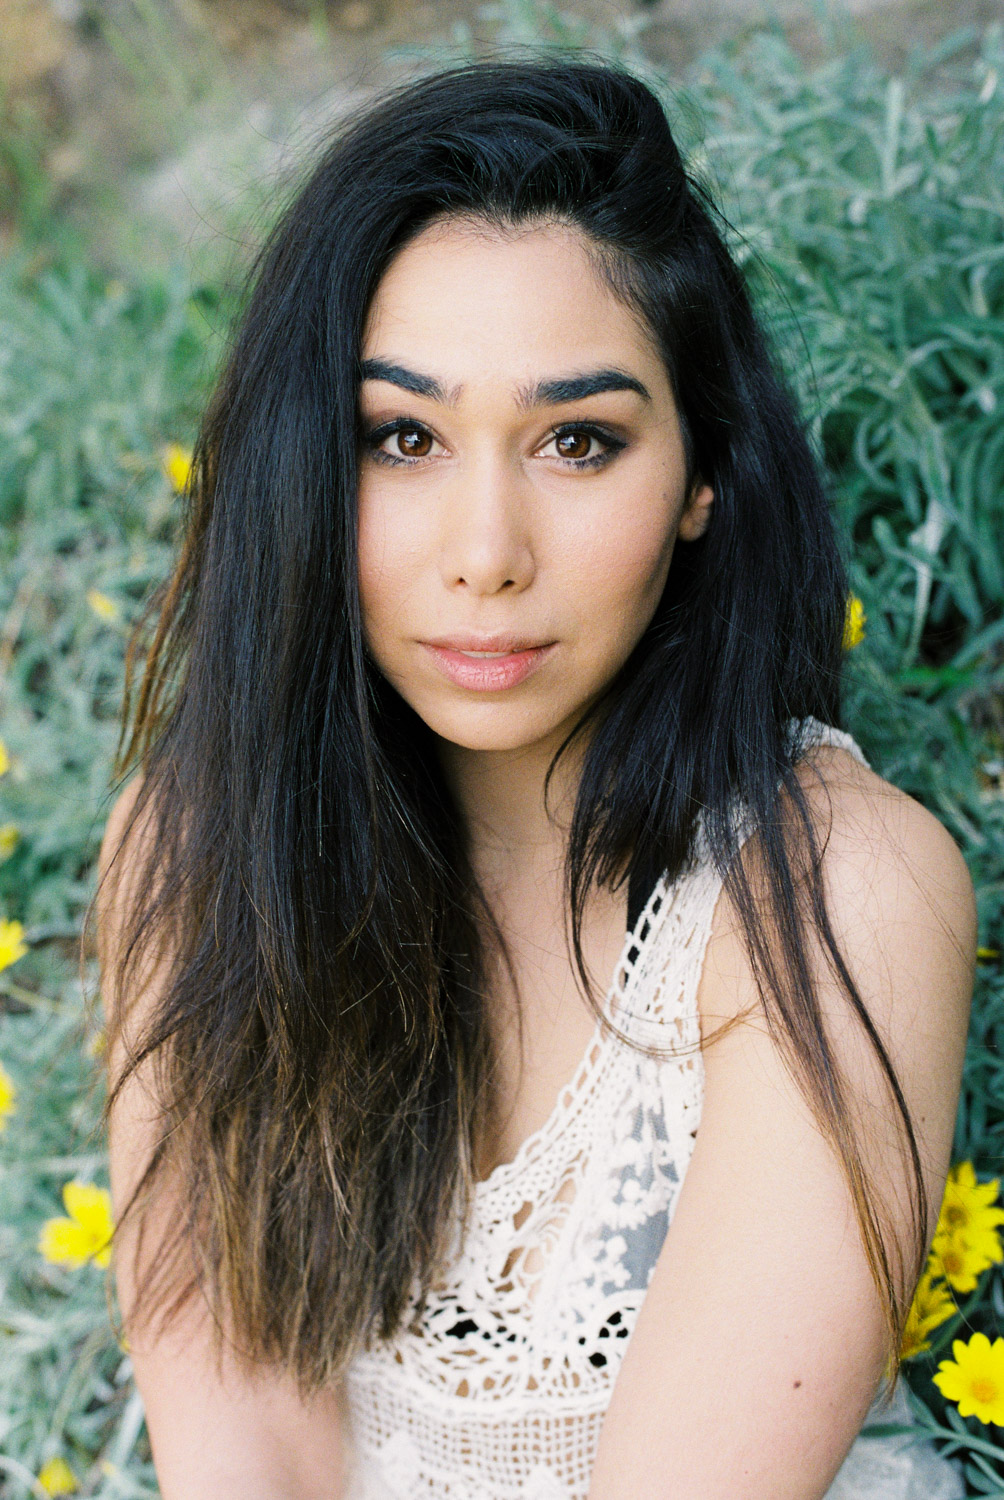
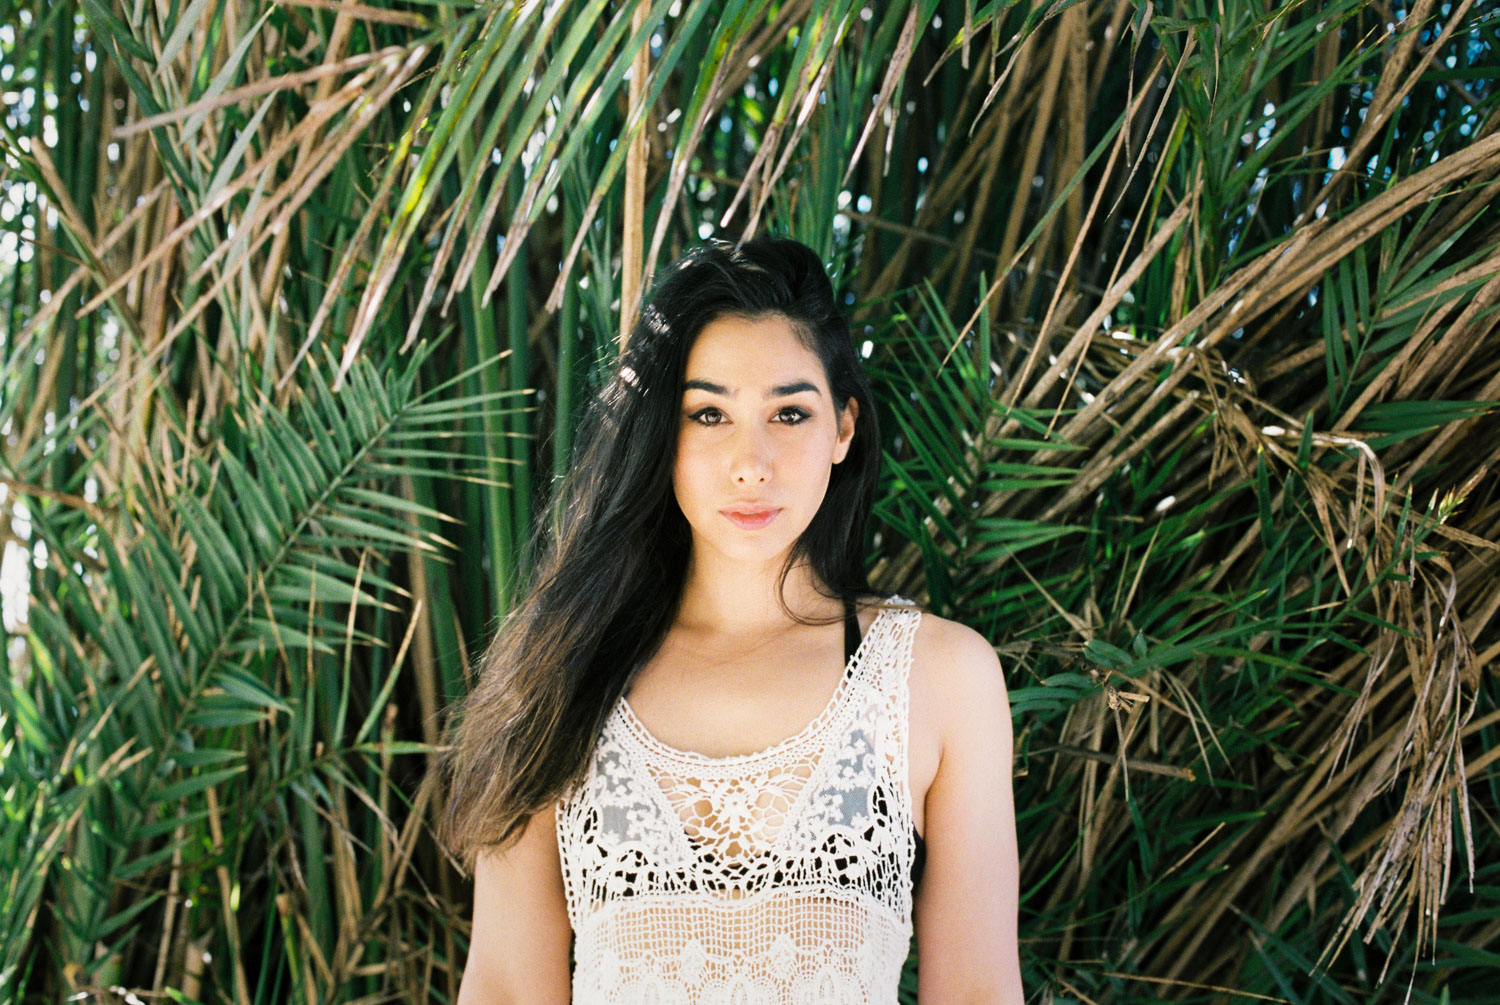
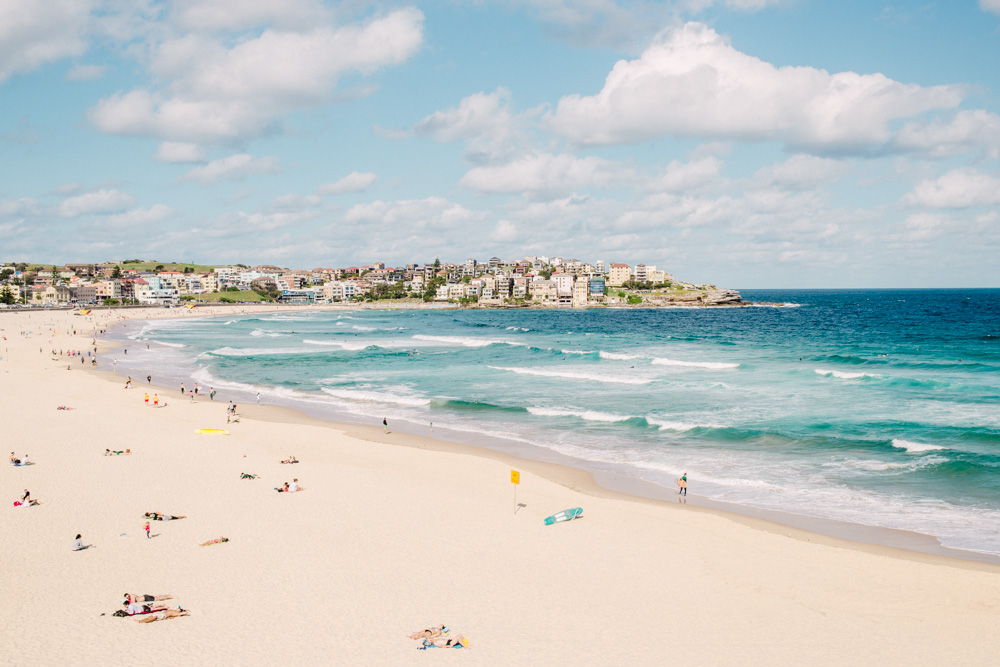
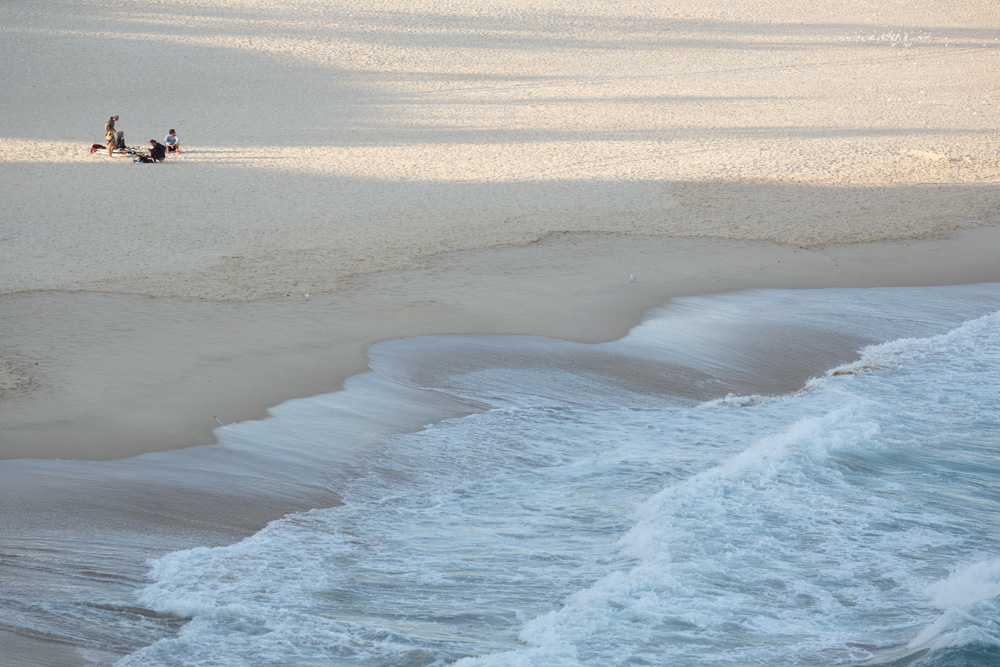
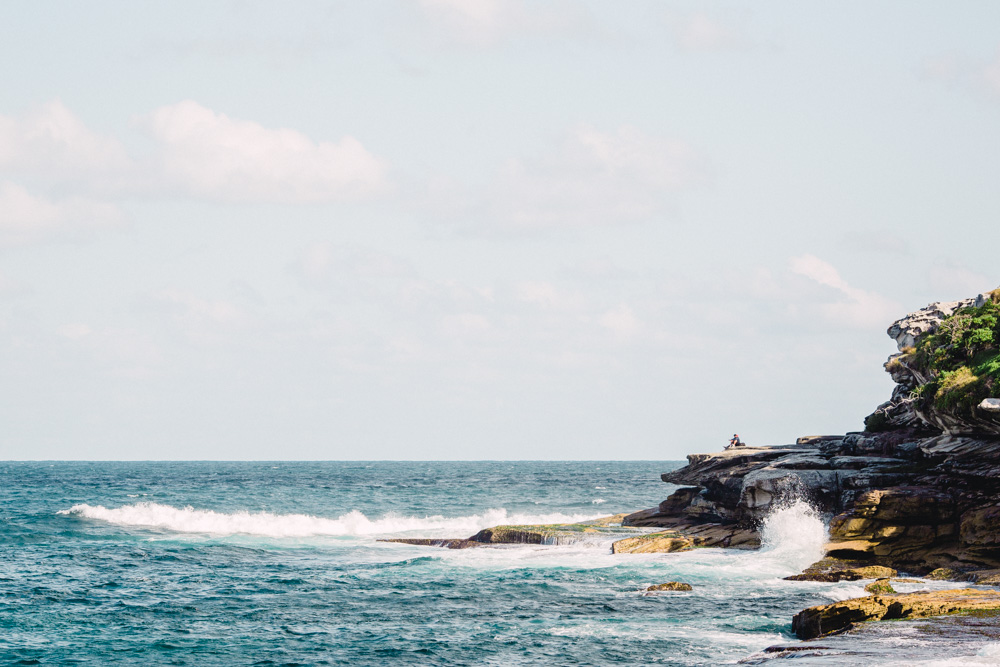
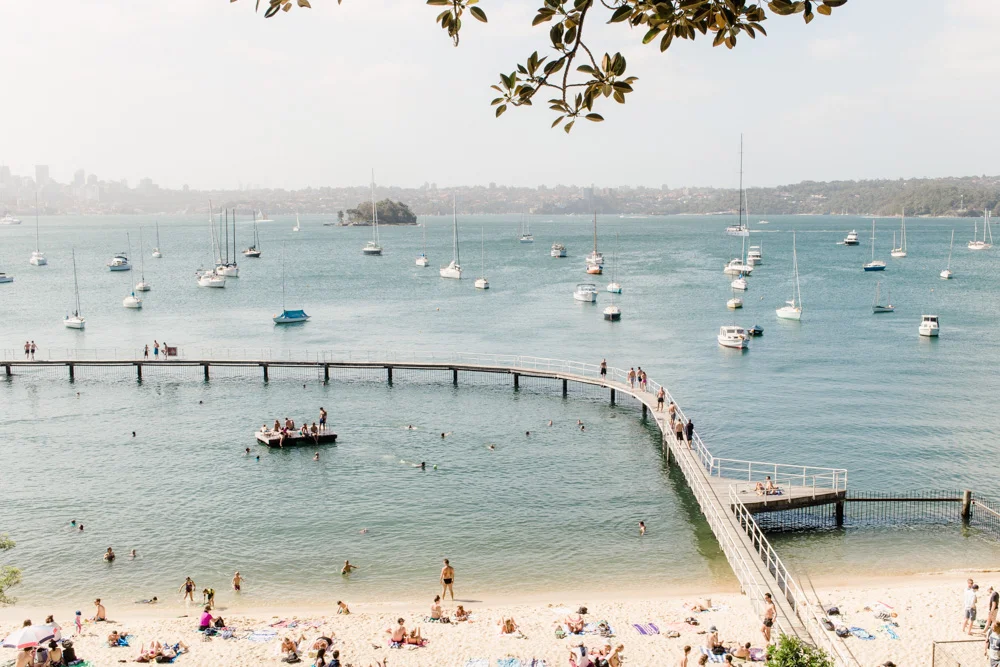
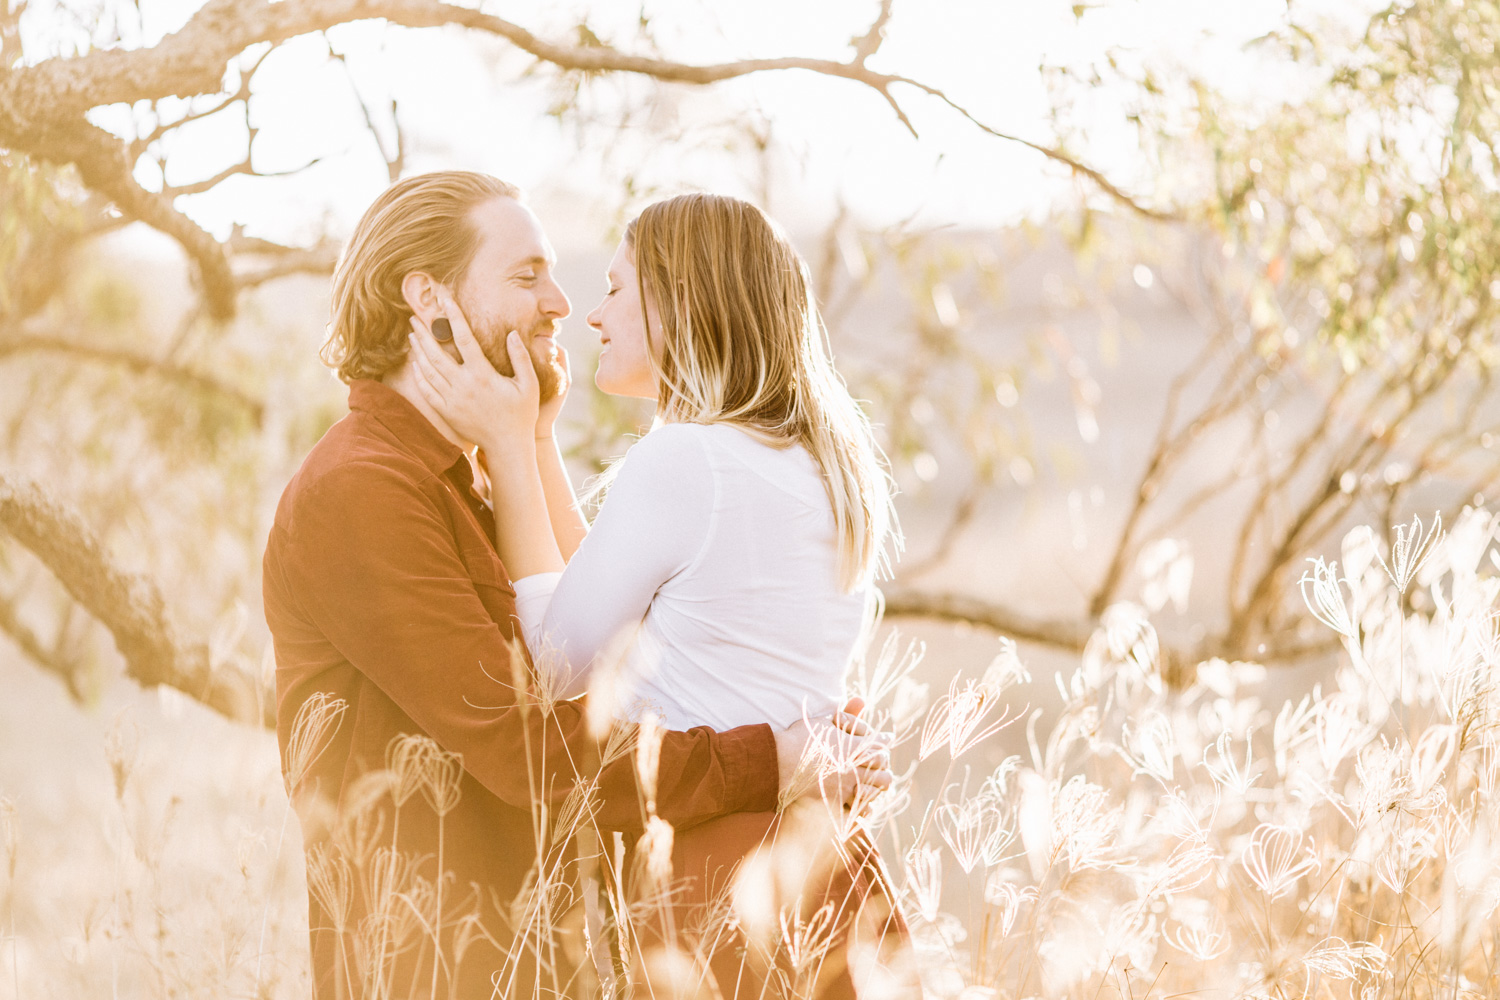
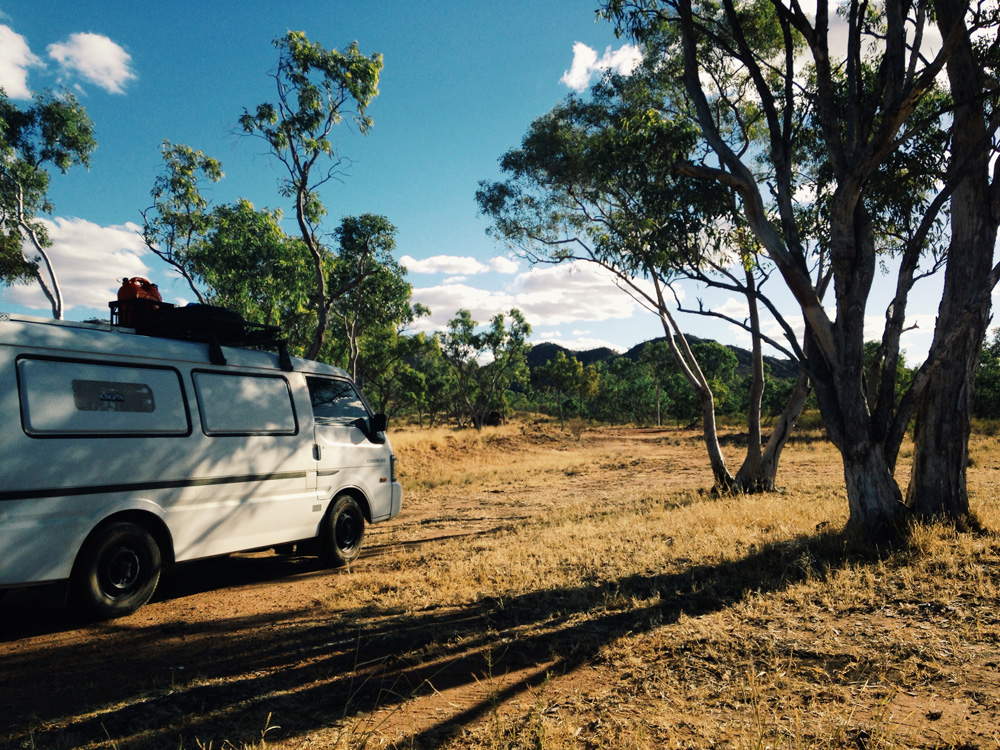
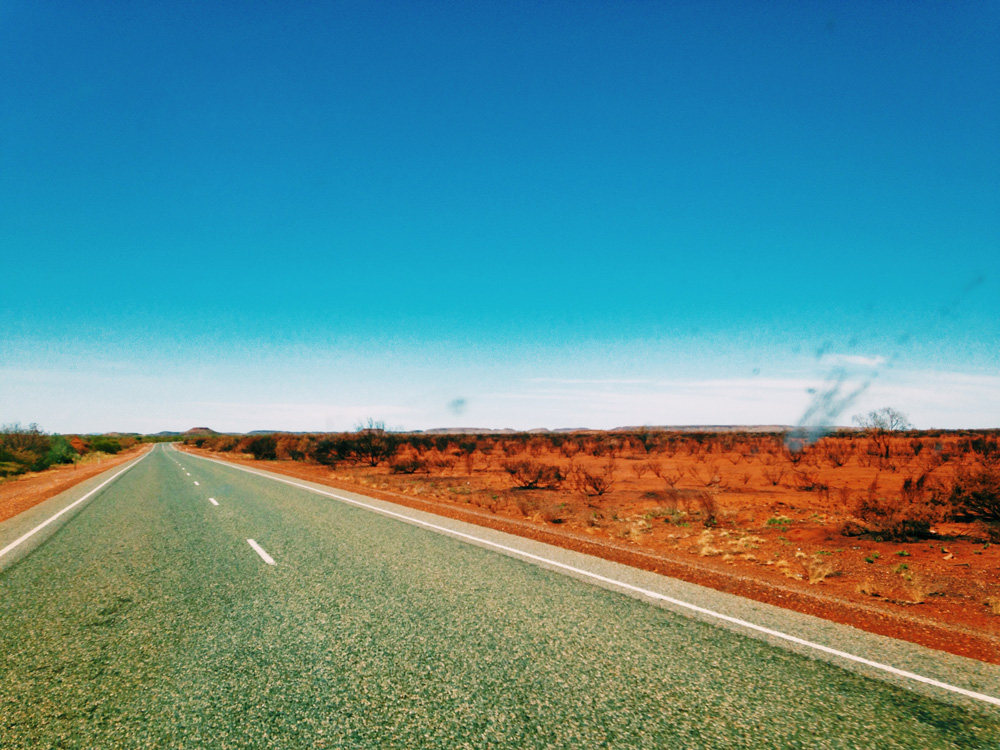
My favourite presets are the pastel range. When aiming for pastel colour palettes with digital files, aim to shoot a fairly flat/neutral histogram. It’s better to raise the exposure slightly in post rather than attempting to recover overexposed highlights later. You will find that the pastel presets brighten your exposure adding life to an otherwise flat, boring looking RAW file.
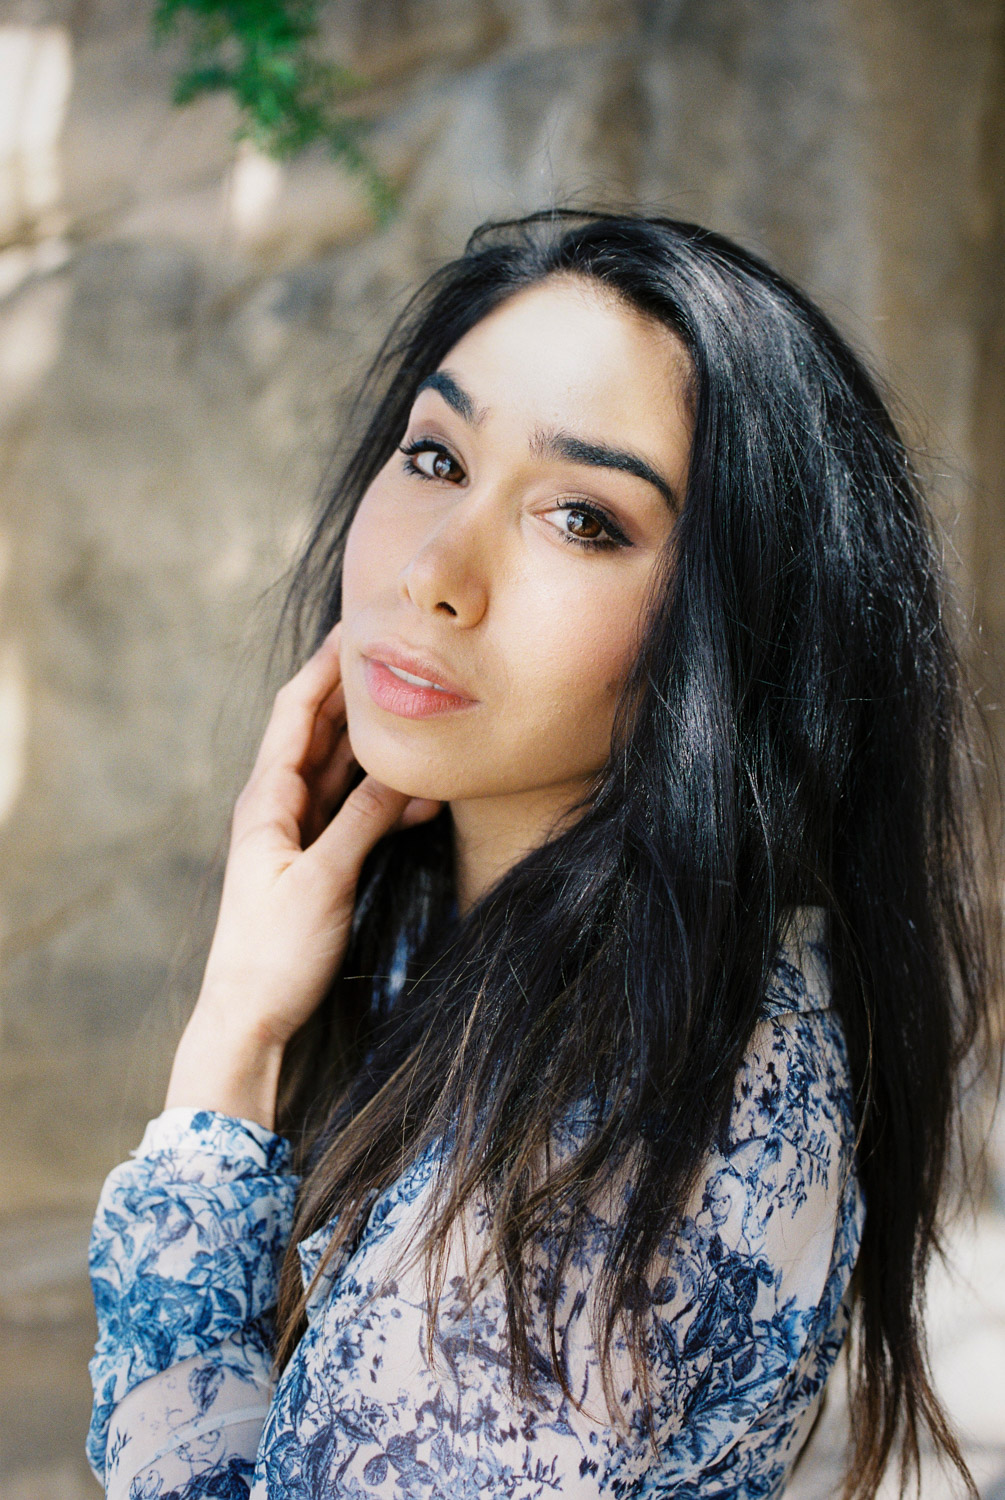
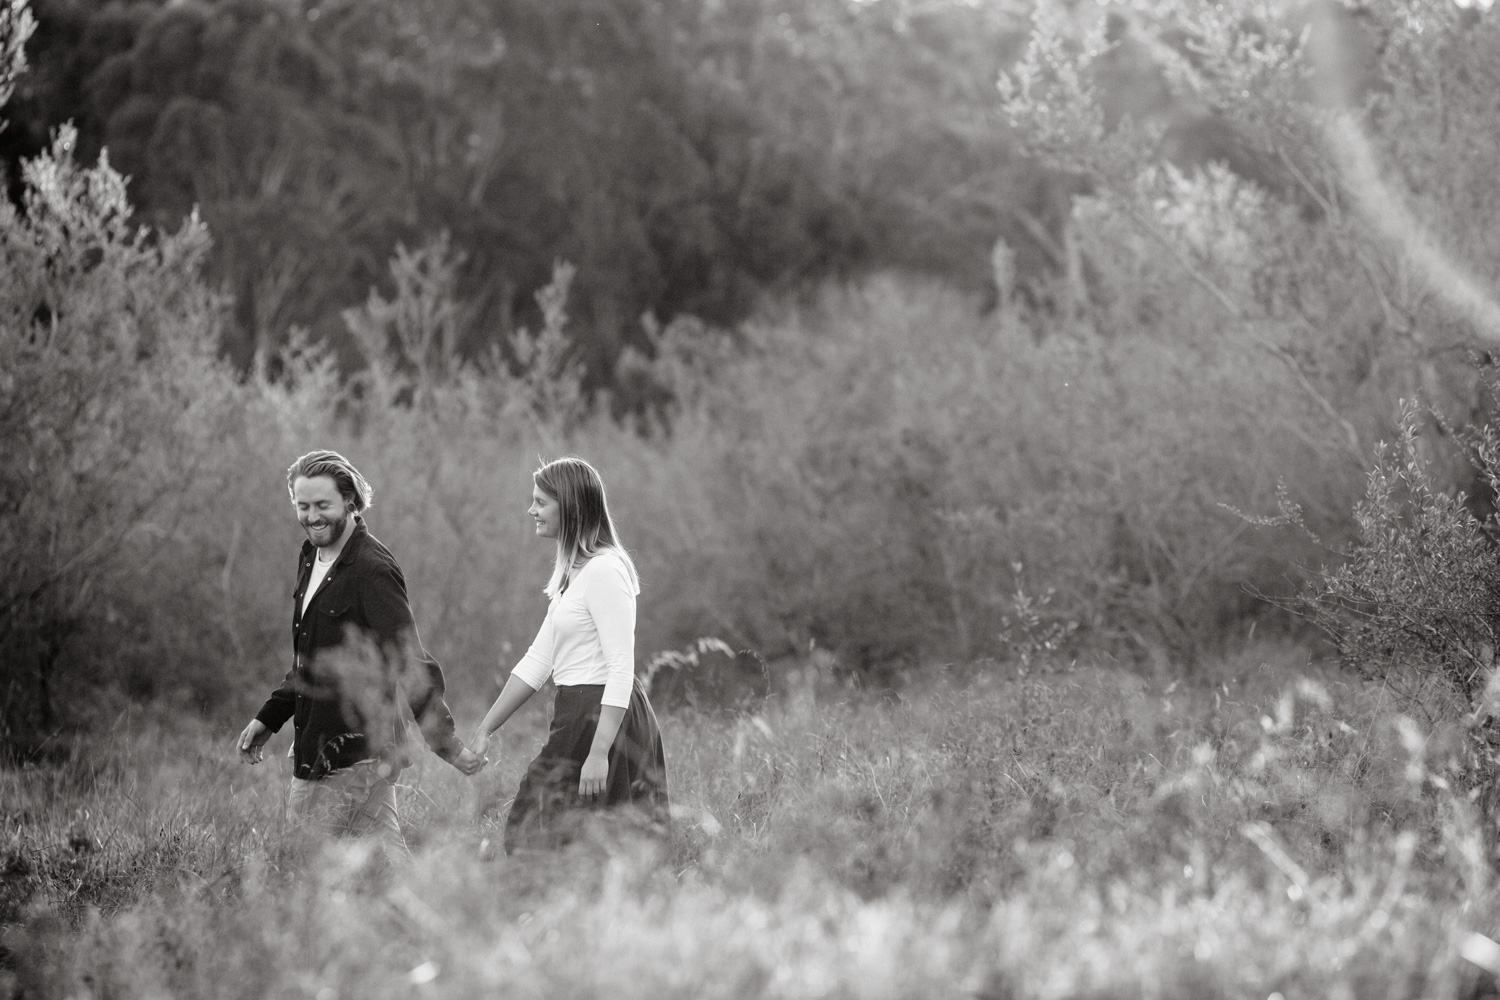
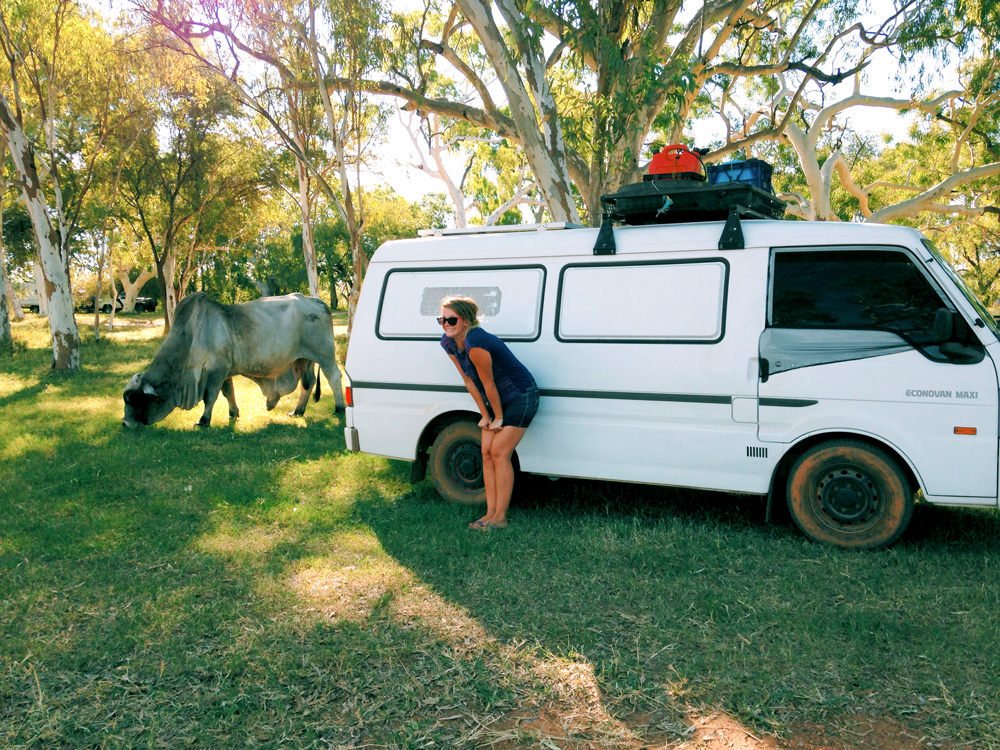
It is important to remember the spirit of “less is more”. I try to stick to 1 colour and 1 black and white preset per collection of photographs. That way I can create a “recipe” based on my favourite preset for that particular occasion. When you create a seamless result it helps emulate the overall consistency of film.
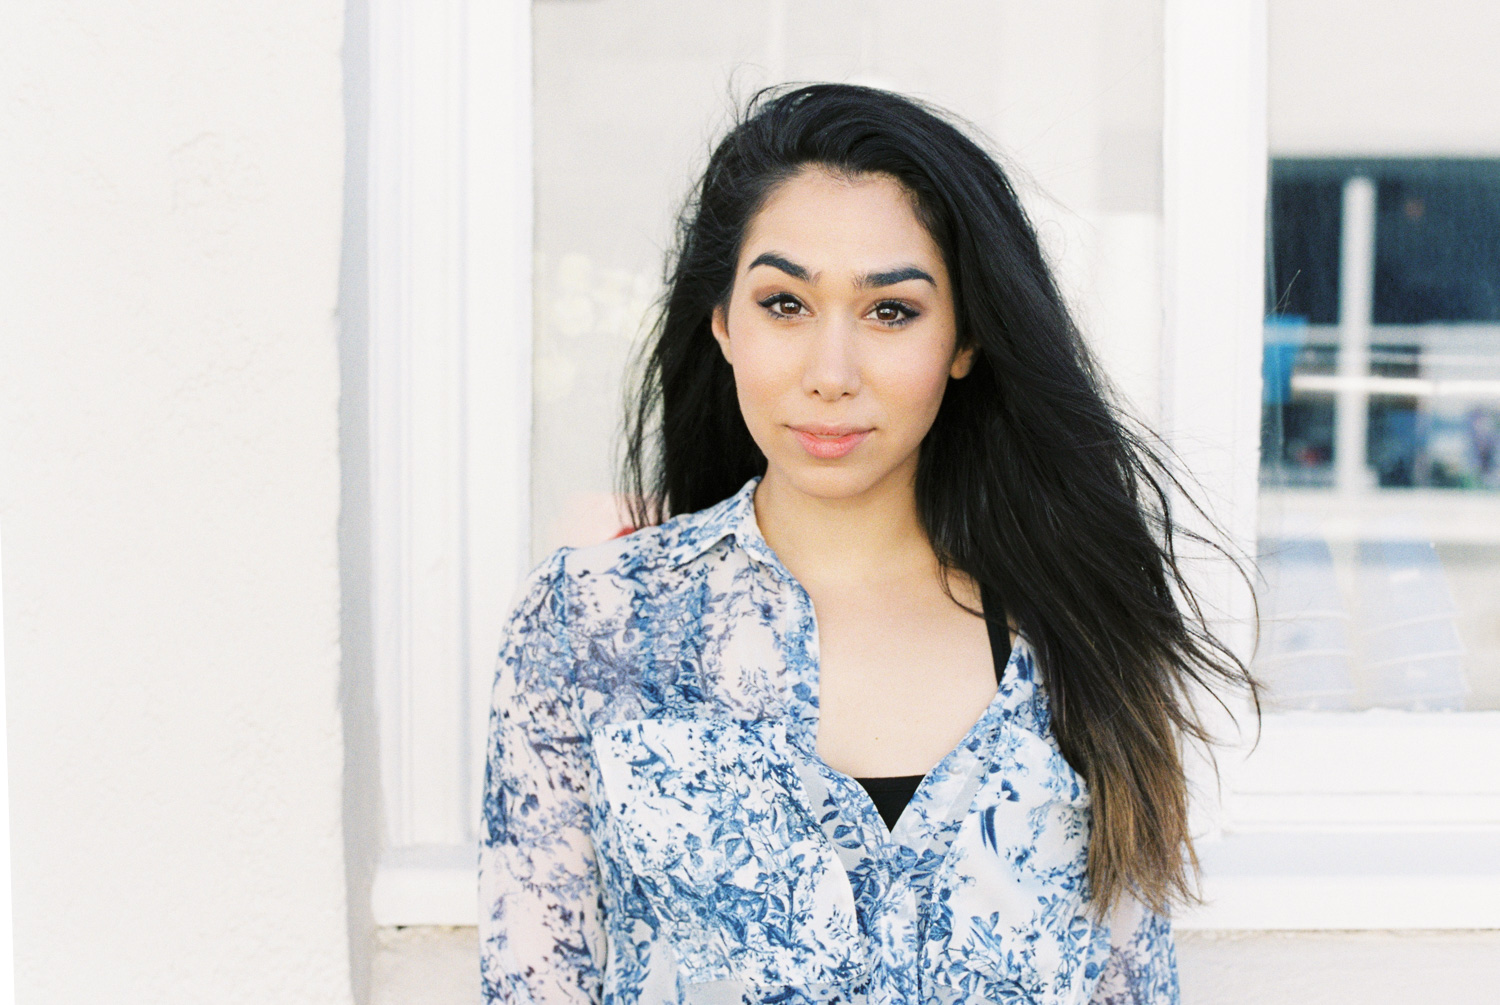
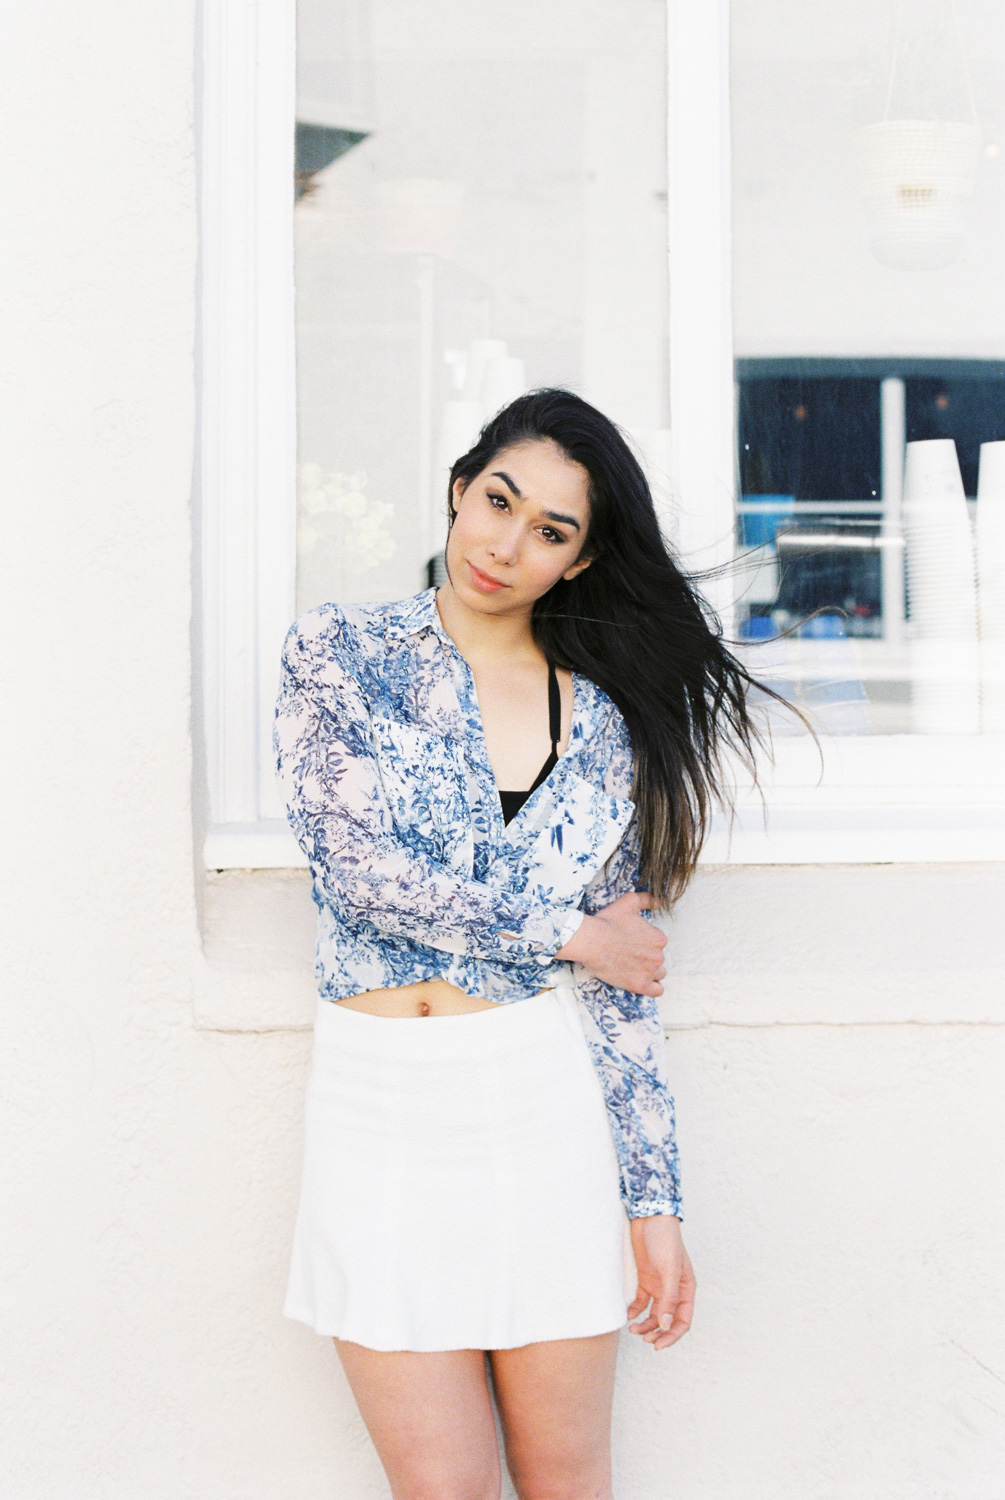
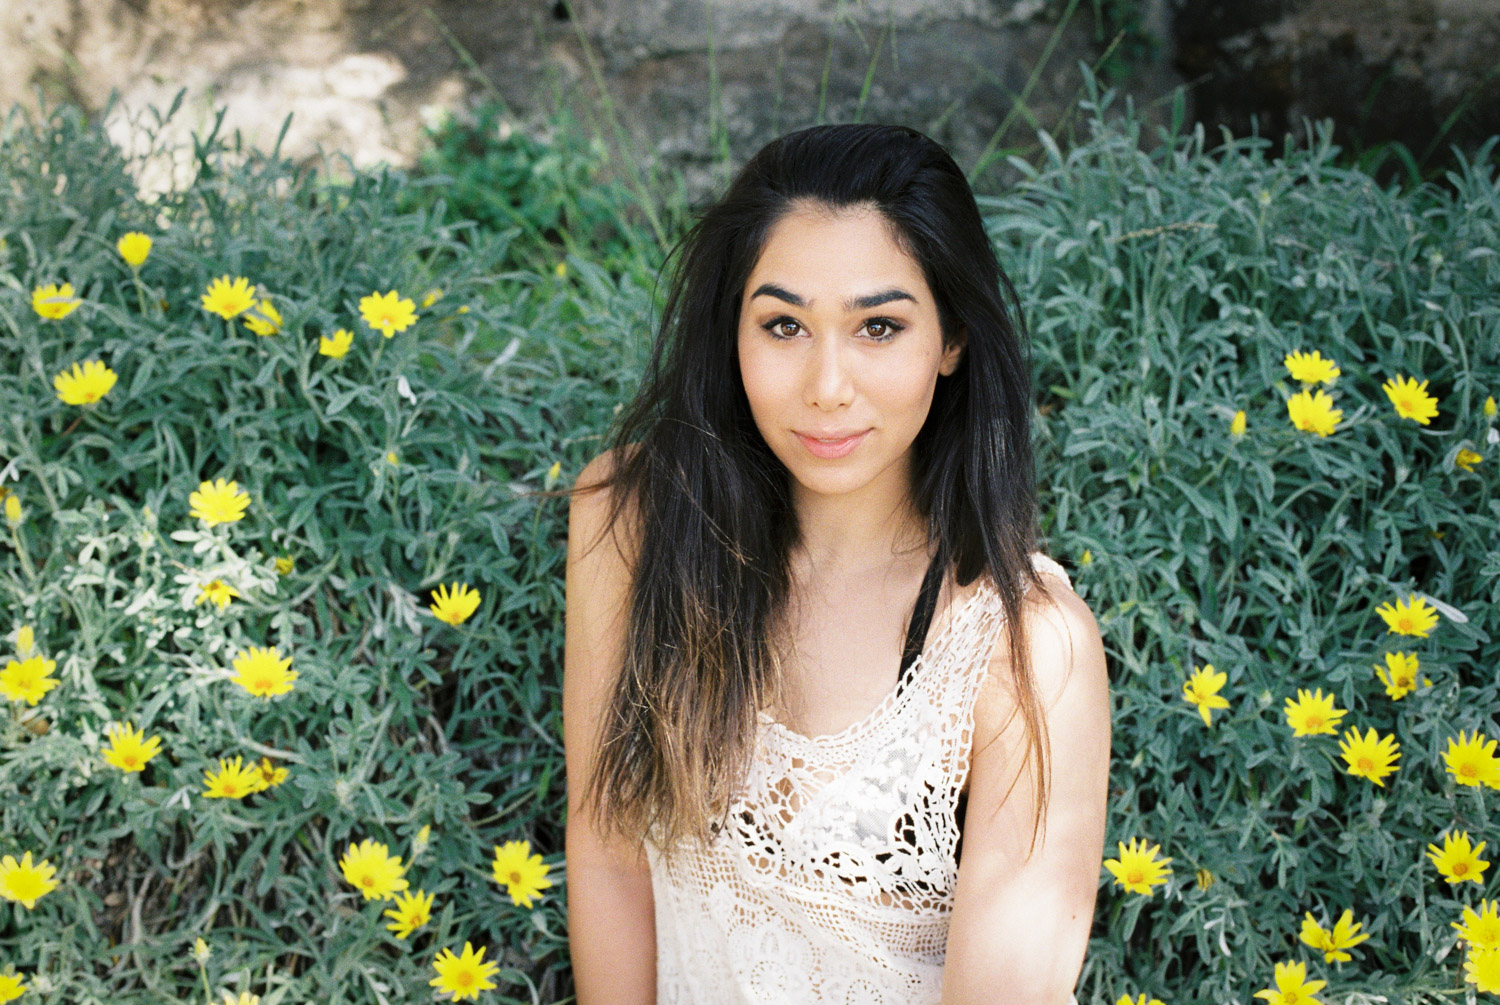
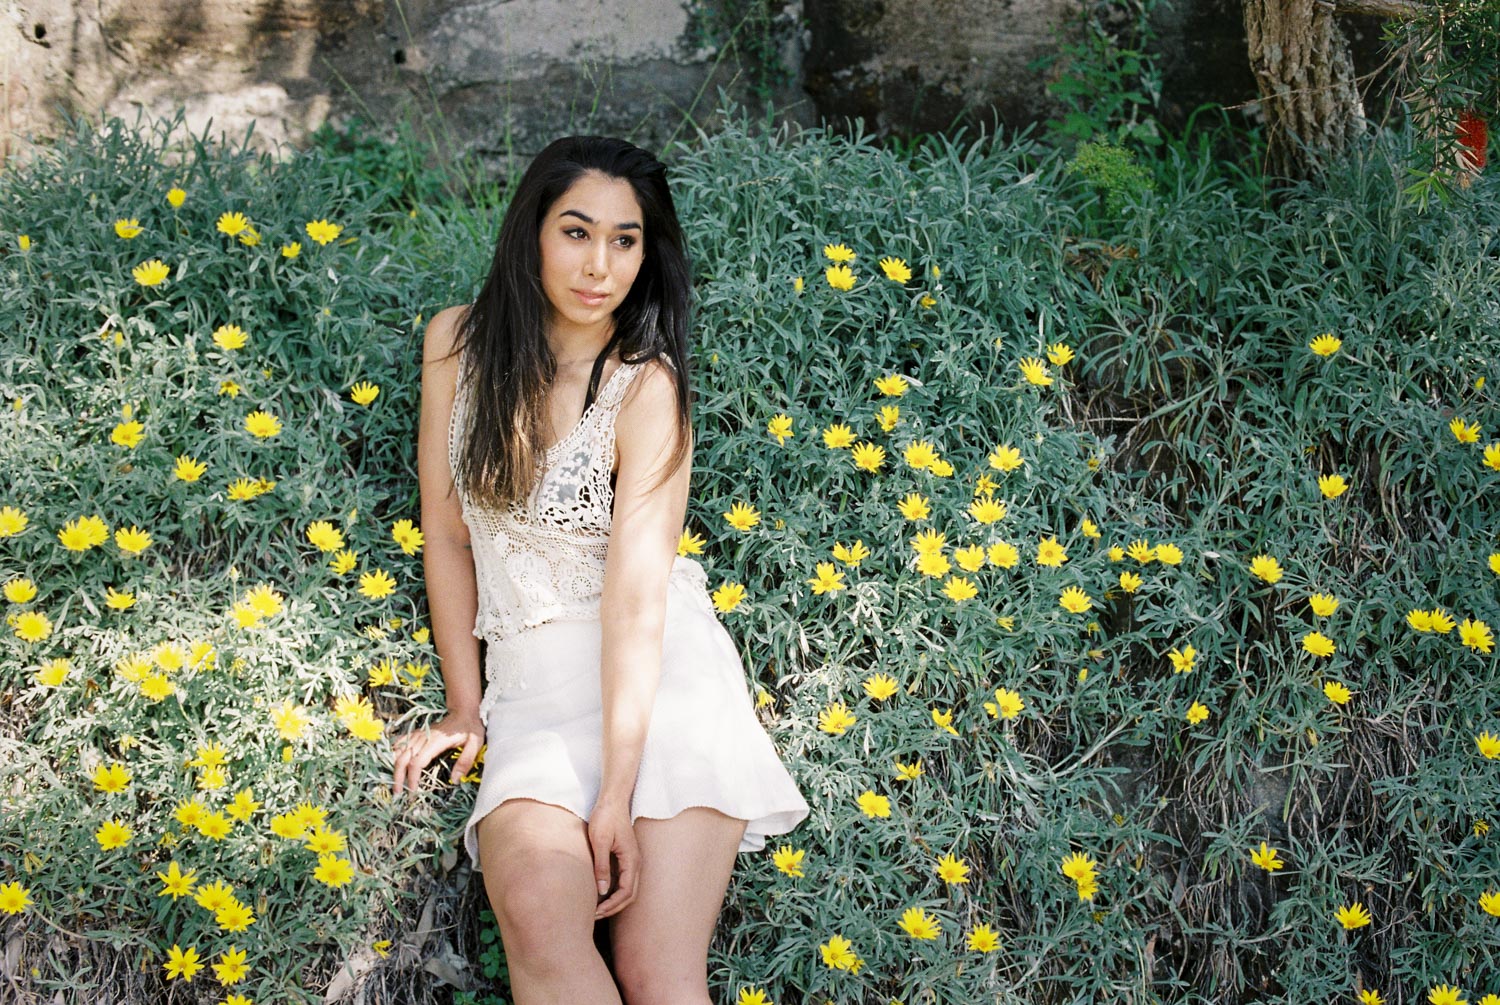
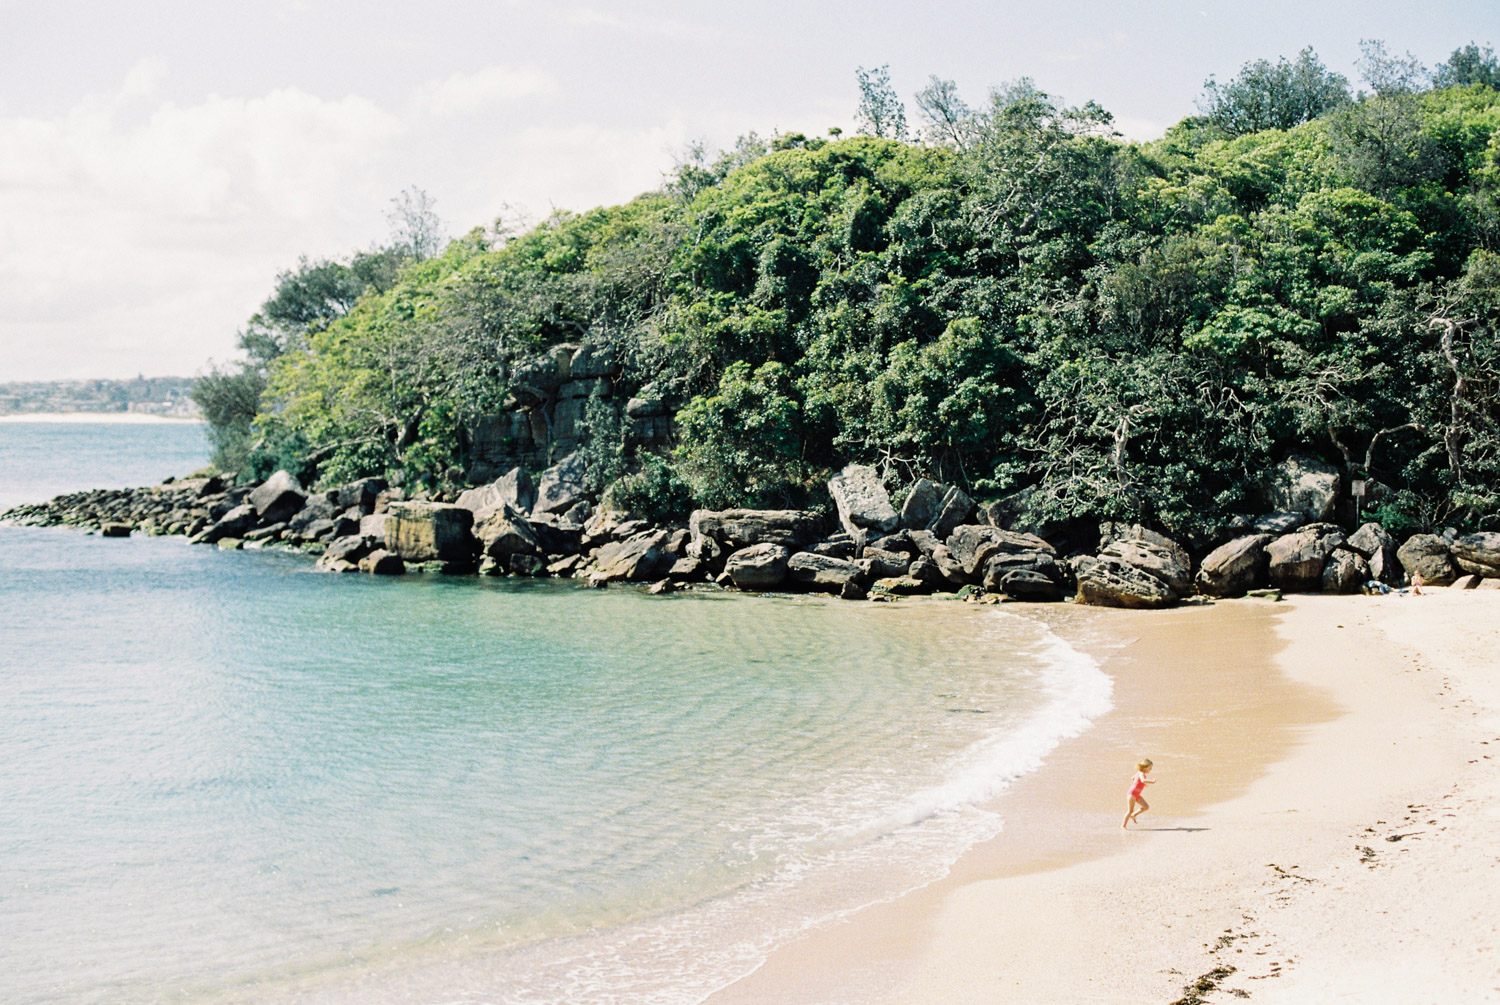
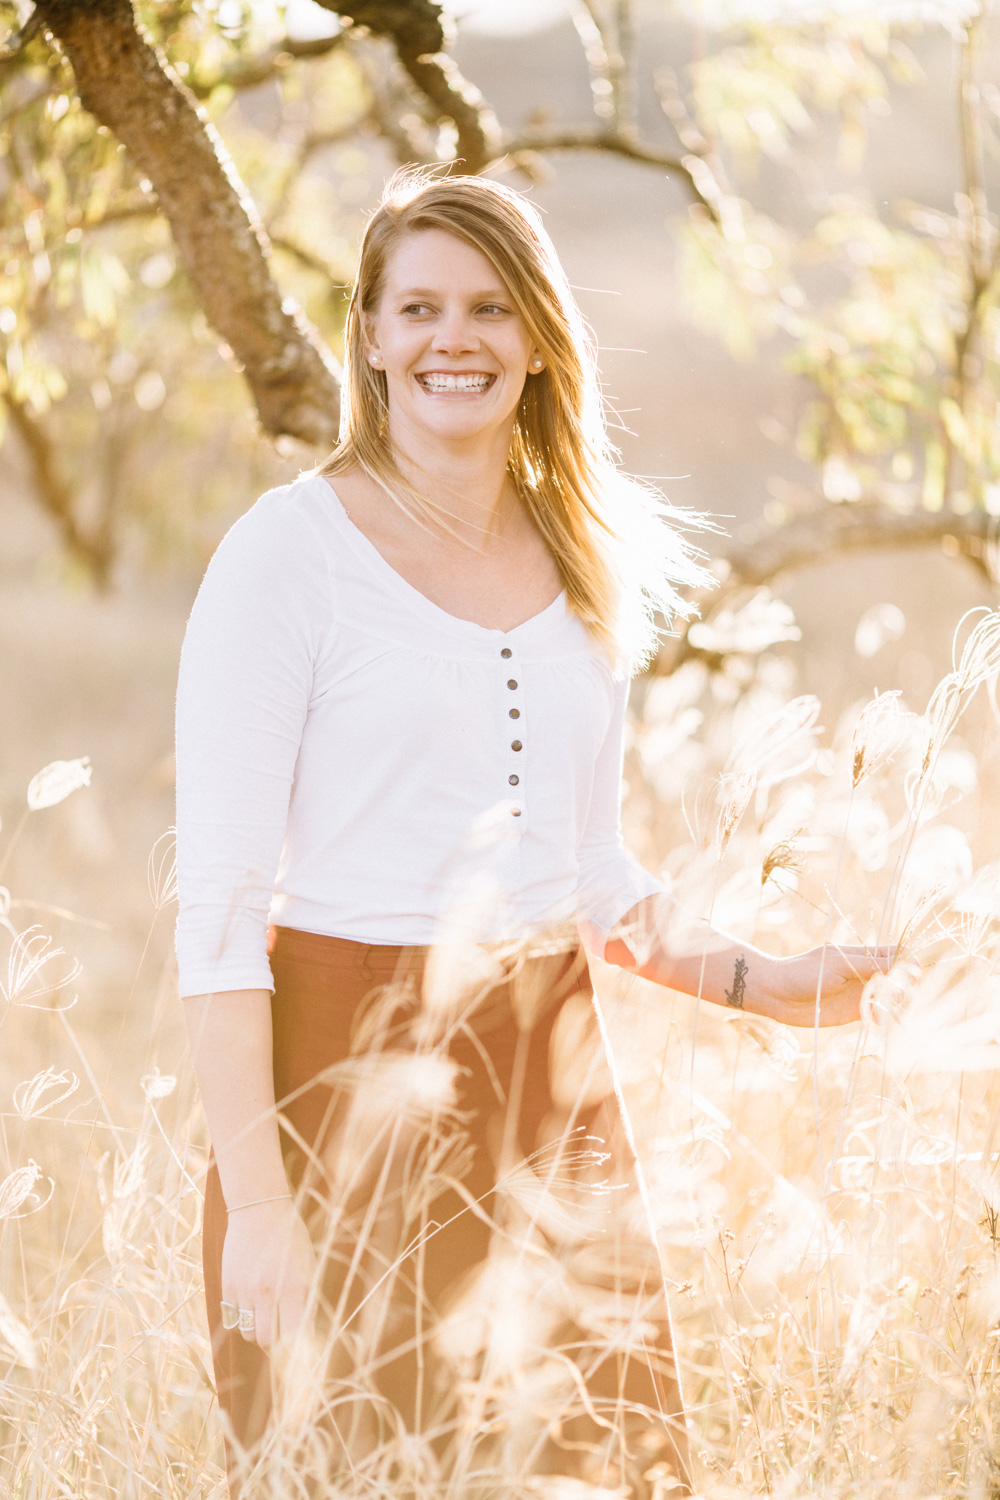
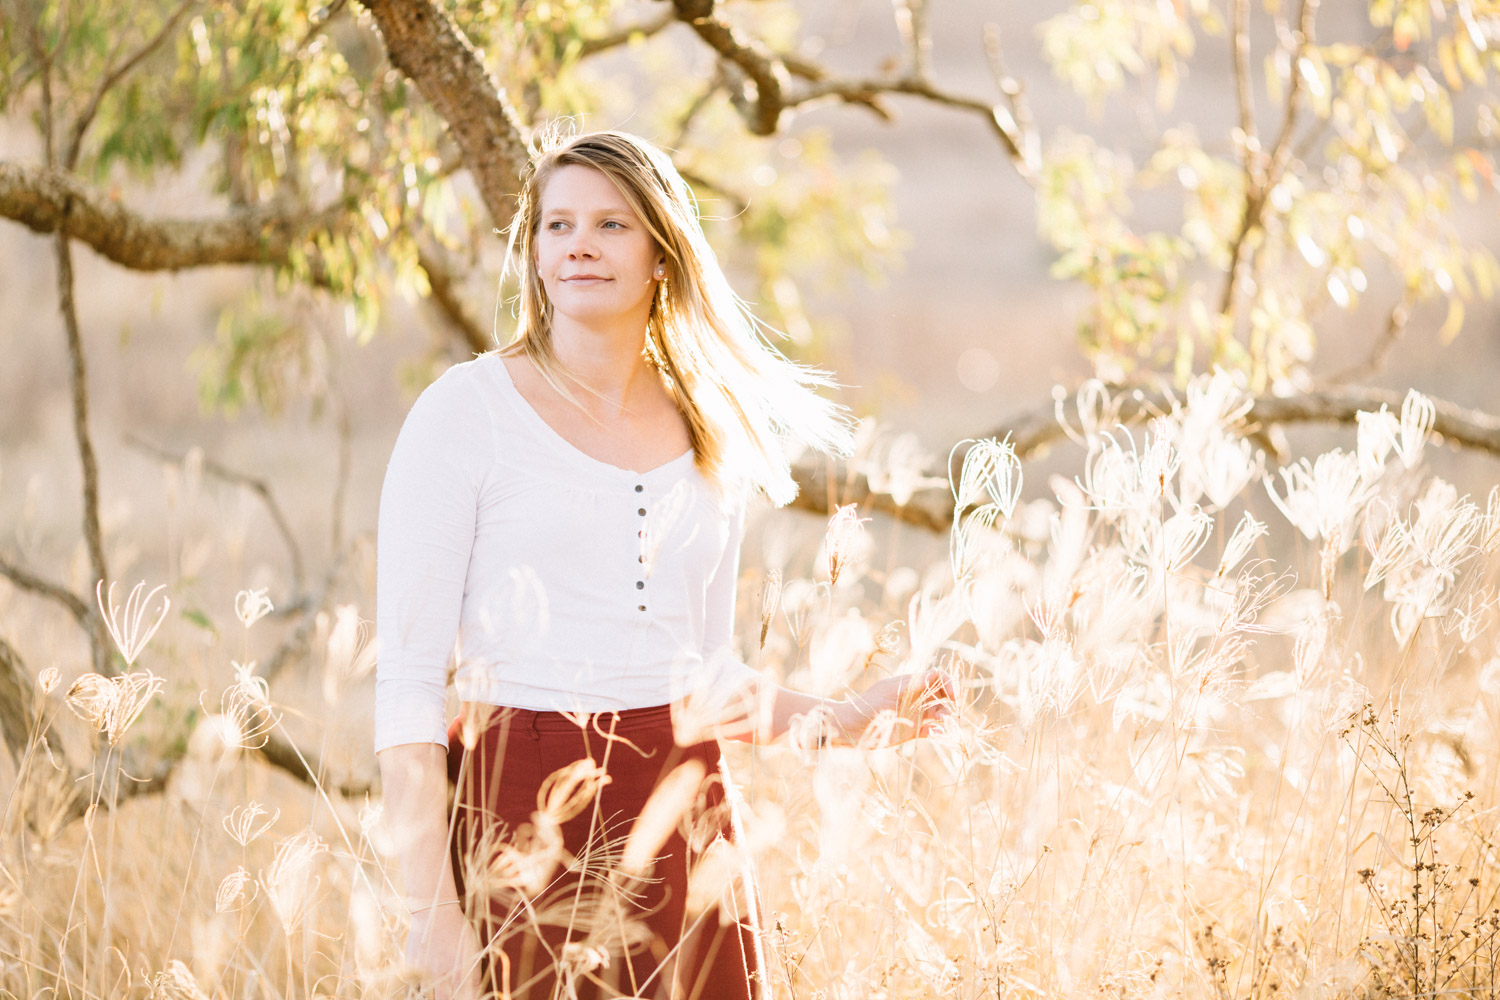
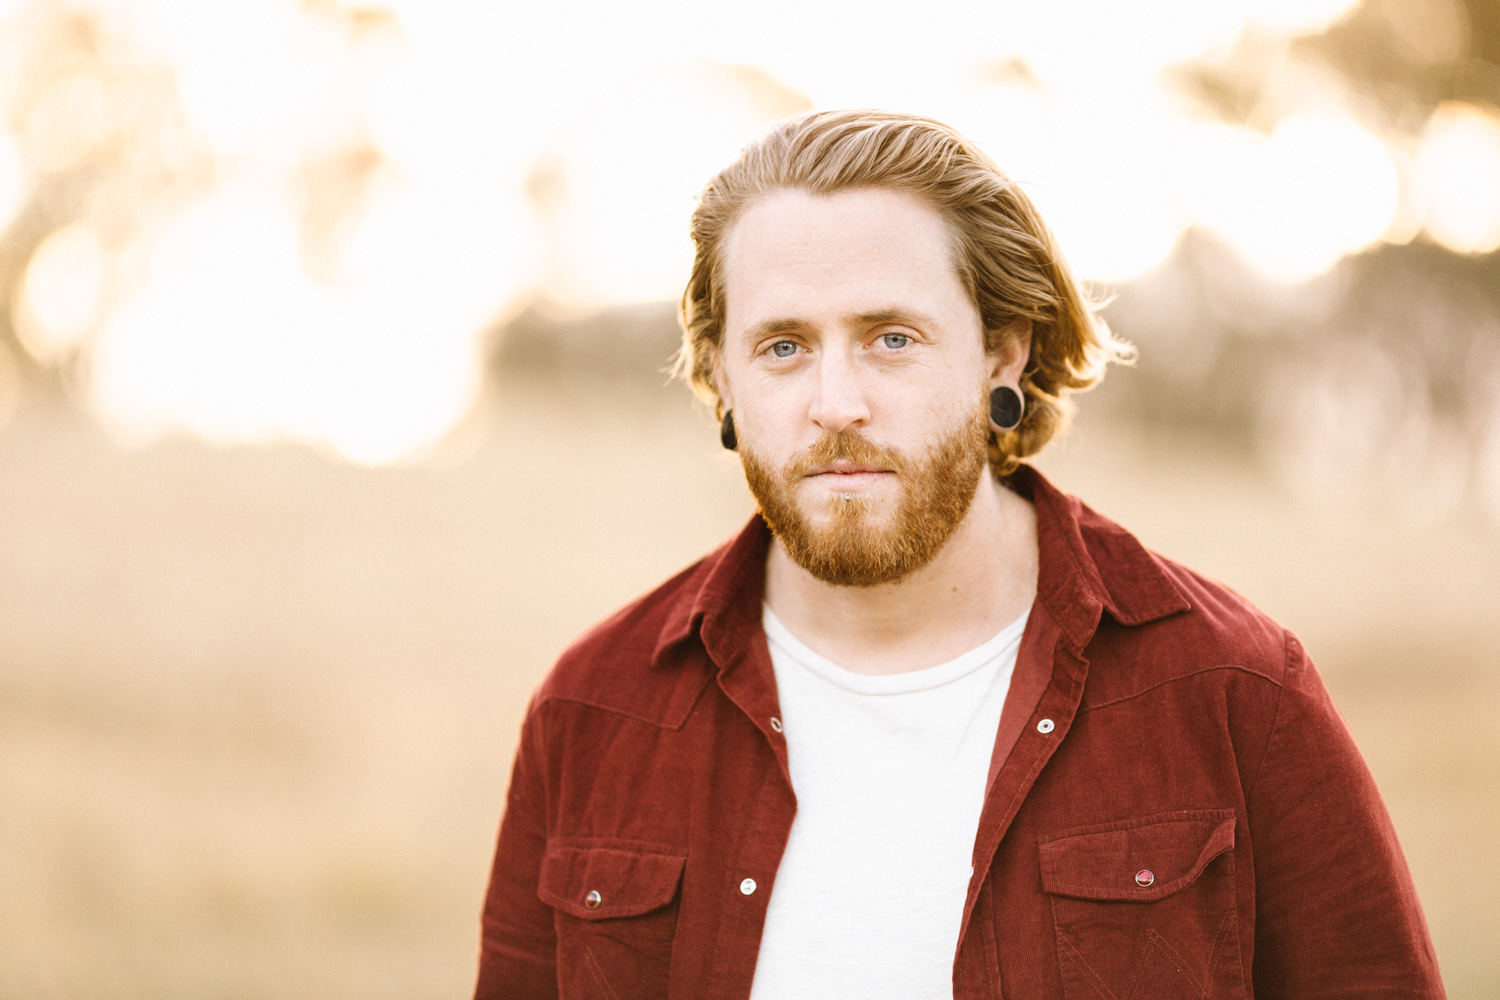
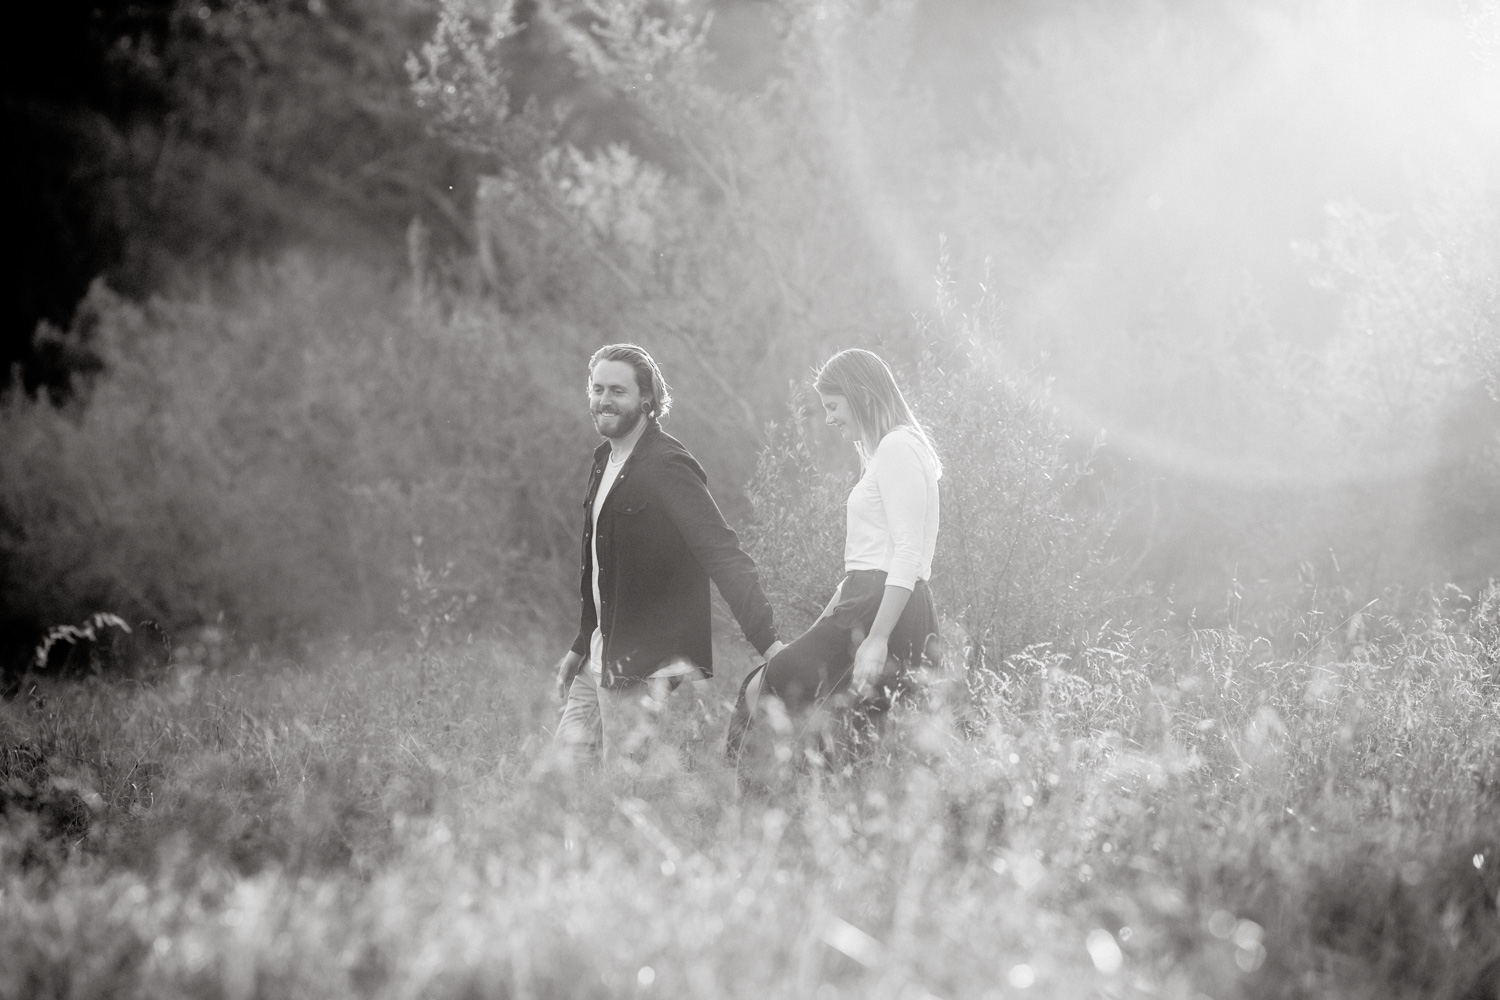
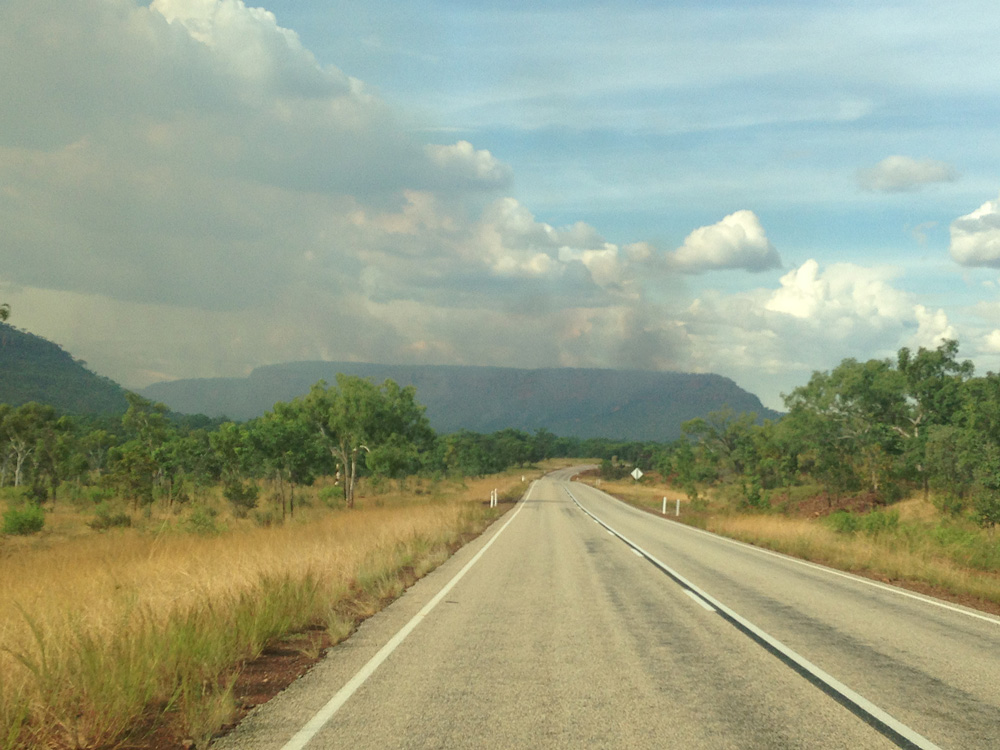
Left: Before preset. Right: After preset.